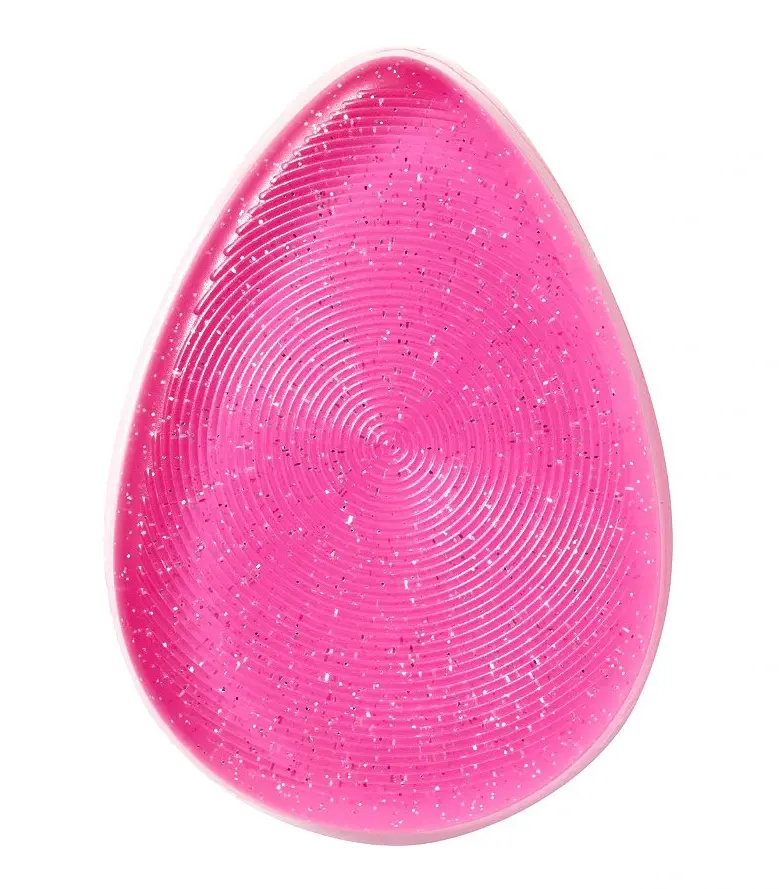
If you’ve scrolled past one of those weird, jelly-looking makeup sponges and wondered what the fuss is about — you’re not alone. Silicone makeup blenders have been around for a while now, and they still split opinion. Some people swear by them. Others try one, feel a little betrayed by how strange it is to use, and go straight back to their trusty foam sponge. Here’s an honest look at what a silicone makeup blender actually does well, where it falls short, and how to actually get good results with one.
Key Takeaways
Silicone blenders waste less makeup because they don’t absorb product.
They’re easier to clean and maintain than porous foam sponges.
They can last much longer, making them cost-effective over time.
They require less product and a little practice to use properly.
Foam sponges are still better for detailed areas and powder makeup.
Silicone is a good choice if you mainly use liquid or cream products and want easier cleanup.
What Is a Silicone Makeup Blender?
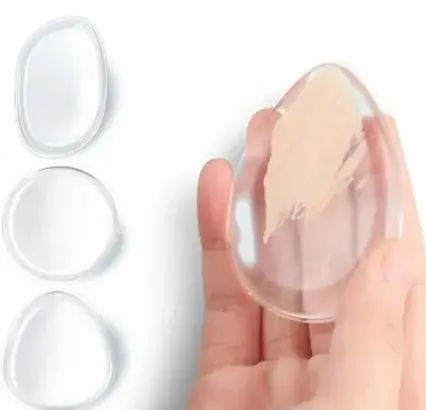
Exactly what it sounds like: a small, flexible applicator made of solid silicone instead of foam. It’s non-porous, which is the whole point — it doesn’t soak up your foundation the way a sponge does. Instead, product sits on the surface and gets pressed onto your skin as you blend. Some people call them “jelly sponges.” They come in a few shapes — teardrop, flat oval, dual-sided with a flocked (fuzzy) back — but the core idea is the same across all of them.
Why People Actually Like Them
They don’t drink your foundation. This is the big one. A traditional sponge can absorb a surprising amount of product before any of it reaches your face, especially once it’s wet. Silicone doesn’t do that, so a little goes a lot further — genuinely useful if you’re using a pricier foundation.
Cleanup takes seconds. Because nothing soaks in, there’s nothing to really “wash out.” A quick rinse under the tap and a wipe with a bit of soap, and it’s done — no waiting around for it to dry before your next use.
It’s genuinely more hygienic. Foam sponges are porous, which means makeup, oil, and bacteria can get trapped deep inside, even after a rinse. That’s part of why dermatologists recommend replacing them fairly often. A silicone blender has nowhere for any of that to hide, which makes it a reasonable pick if you’re prone to breakouts or have sensitive skin.
It lasts. With basic care, one silicone blender can realistically last well over a year — foam sponges usually need replacing every few months.
It’s the cheaper habit long-term. Not always cheaper upfront, but you’re not buying replacements every couple of months, and you’re using less product per application.
Where It Actually Struggles
This is the part brand blogs tend to skip, and it matters:
There’s a learning curve. The motion is different from a sponge. You dab and press rather than bounce and roll, and it takes a few tries to stop feeling clumsy with it. Most people who give up on silicone blenders do it after one awkward first attempt.
Tight spots are genuinely harder. Under the eyes, around the nose, into fine lines — a squishy foam sponge just handles curves better. Most people end up finishing those areas with their fingers or a small brush rather than fighting the silicone into place.
It needs less product than you’d think — and that surprises people. If your foundation looks patchy or streaky the first time, it’s very often because you used too much, not because the tool doesn’t work. Start with far less than you’d use on a sponge and build up.
Timing matters more. Because it doesn’t absorb anything, a silicone blender will happily smear your skincare, sunscreen, and primer around before they’ve actually settled. Give those a few extra minutes to sink in first, or you’ll spend more time correcting patchy application than you saved.
It’s not the best match for every formula. Liquid and cream products blend beautifully. Heavier, thicker formulas and powder are hit-or-miss — a light hand helps, but it’s not the tool’s strongest use case.
Silicone vs. Foam: The Honest Comparison
| Silicone blender | Foam sponge | |
| Product absorption | Minimal — most goes on your face | Soaks up a fair amount |
| Hygiene | Non-porous, easier to keep clean | Can trap bacteria and product deep inside |
| Best for | Liquid/cream foundation, concealer, cream blush | Liquid foundation, powder, all-over blending |
| Tight areas (under-eye, nose) | Trickier, often needs fingers to finish | Handles curves more easily |
| Typical lifespan | A year or more with care | A few months with regular use |
| Learning curve | Noticeable at first | Minimal — intuitive for most people |
How to Actually Get Good Results
- Let your skincare, sunscreen, and primer fully absorb before you start — a few minutes makes a real difference.
- Use way less product than you think you need. You can always build coverage; you can’t easily undo too much.
- Dab and press in small motions rather than dragging or rubbing.
- For under-eyes and around the nose, don’t force it — switch to your fingers or a small brush for those spots and let the blender handle the rest.
- Rinse it after every use with mild soap and lukewarm water, and let it air dry fully.
Who Should Consider One
Good fit if you: have sensitive or acne-prone skin and want an easy-to-sanitize tool, mostly wear liquid or cream products, want to stretch an expensive foundation further, or just want one tool that doesn’t need constant replacing.
Maybe stick with foam if you: rely heavily on powder products, want something that works well straight out of the box with zero learning curve, or need a tool that handles fine detail work (under-eyes, contouring) without extra help from your fingers.
Faqs
Does a silicone makeup blender really save product?
Yes — because it doesn’t absorb foundation the way foam does, noticeably less product ends up wasted inside the sponge instead of on your face.
Is a silicone blender more hygienic than a regular sponge?
Generally, yes. Its non-porous surface doesn’t trap bacteria and residue the way a foam sponge’s open structure can, which makes it easier to keep genuinely clean between uses.
Why does my foundation look patchy with a silicone blender?
Almost always too much product, or not letting your skincare/primer absorb first. Both are easy fixes — use less, and wait a few extra minutes before applying.
Can I use a silicone blender for concealer and cream blush?
Yes, and it tends to work especially well with cream-based products — foundation, concealer, cream blush, and cream highlighter all blend nicely with it.
Is it good for powder makeup?
Not its strong suit. It can be used with a very light hand, but powder tends to perform better with a puff or brush.
How long does a silicone makeup blender actually last?
With regular rinsing after use, a year or more is realistic — considerably longer than a typical foam sponge.
Why is it hard to use around my eyes and nose?
Silicone doesn’t flex and contour the way foam does, so tight curves are genuinely trickier. Most people finish those small areas with their fingers.
How do I clean a silicone makeup blender?
Rinse under lukewarm water with a bit of mild soap, gently work it over the surface, rinse clean, and let it air dry — no soaking or scrubbing needed.
The Bottom Line
A silicone makeup blender isn’t a straight upgrade over a foam sponge — it’s a different tool with a different learning curve, and it rewards a bit of patience. Once you get the technique down (less product, more patience with your skincare, fingers for the tricky spots), it genuinely does save product, stays cleaner, and lasts a lot longer. If you mostly wear liquid or cream makeup and want something low-maintenance and skin-friendly, it’s worth the short adjustment period. If you’re all about powder or want zero learning curve, your regular sponge still has a place.