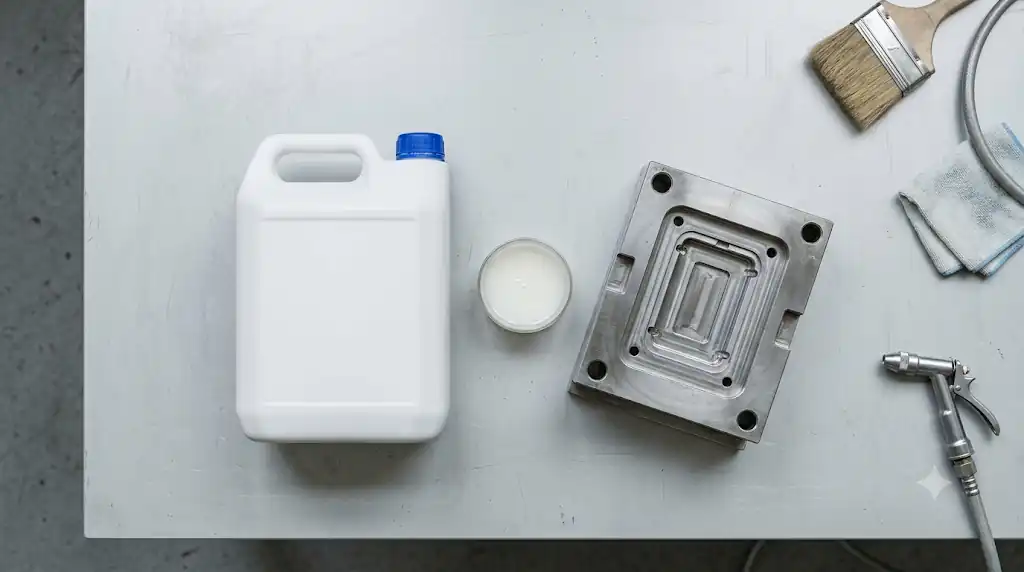
A PU mould release agent is a thin coating applied to a mould surface so that cured polyurethane can be lifted out cleanly. Polyurethane is sticky while it cures, so without a barrier the part can bond to the tool, tear during removal and leave a tedious clean-up behind.
This guide explains how a PU mould release agent works, the main types, how to choose the right one, how to apply it properly and which mistakes cause most sticking and surface defects. It is written for moulders, shop-floor supervisors and buyers who want steadier results from every cycle.
Key Takeaways
- A PU mould release agent forms a barrier between the mould and the curing polyurethane.
- External agents go onto the mould, while internal agents go into the mix, and internal ones often do not remove the need for an external coating.
- Water-based products dry slower but are non-flammable, while solvent-based ones dry almost instantly and need good ventilation.
- Pick a PU mold release agent that matches the foam type, mould temperature, mould material and any painting or bonding that follows.
- A clean mould, a thin even film and enough drying time prevent most defects.
What a PU Mould Release Agent Does in Polyurethane Moulding
A release agent is a chemical that stops one material from bonding to another surface. In moulding, it sits between the tool and the part, which lets the cured piece separate instead of fusing to the mould. Even with a coating in place, uneven application or a poorly matched product can hurt quality and consistency.
Most release agents are built from waxes, fatty esters, silicones or metallic soaps. For polyurethane, external products have typically relied on silicone oils, mineral oils, fatty acid derivatives and glycols alongside waxes. You will see them on moulded flexible foam parts such as car seats, armrests, headrests, steering wheels and pillows, as well as on shoe soles.
Benefits of a PU Mould Release Agent
- Cleaner release: parts come away from the mould with less tearing and damage.
- Smoother finish: the moulded surface comes out more even.
- Longer mould life: parts do not bond to the tool, so heavy cleaning and repairs are needed less often.
- Less downtime and scrap: less time goes on separating parts, and fewer parts are damaged.
Types of Polyurethane Release Agent
Internal vs External
External agents are sprayed or brushed onto the mould surface before moulding. Internal agents are mixed into the material being moulded. Internal types can cut down on outside coating, but they may keep moving to the surface over time, which can affect appearance, coating or bonding later. They also do not always reach the mould interface or guarantee full release, so an external polyurethane release agent often stays in the process.
Sacrificial vs Semi-Permanent
A sacrificial coating is applied before every cycle because much of the film is used up each time. A semi-permanent release agent bonds to the mould surface and allows several cycles before reapplication. How many cycles you get depends on the process, the material and the application method.
Multiple releases need a clean, dry surface free of dirt, rust and old coatings, and semi-permanent coatings work better when not over-applied.
Water-Based vs Solvent-Based
Compared with solvent types, water-based release agents dry more slowly but raise fewer health and safety concerns. They are non-flammable, which also makes them cheaper to ship. Solvent-based coatings dry almost instantly, but their fumes can be hazardous without proper ventilation, and most solvents are flammable.
Polyurethane foam adds a few twists. Aqueous systems may need longer evaporation times and higher mould temperatures, and water left on the mould before pouring can compete with the foam reaction by reacting with isocyanate. Petroleum-based carriers can leave an odour on the foam surface, which water-based types typically avoid. Cosolvent systems were developed to cut VOC and safety concerns while combining the strengths of both approaches.
How to Choose the Right PU Mold Release Agent
There is no universal best product. The right PU mold release agent depends on the following factors.
- Foam system: formulations are usually matched to mould temperature, airing time (the gap between applying the agent and injecting the components) and whether the foam is integral, rigid or flexible.
- Mould material and condition: confirm compatibility with your steel, aluminium or composite tooling.
- Surface finish: ask for a grade that gives the gloss or matte look you need.
- Later processing: if parts will be painted, bonded or coated, a silicone-free release agent is the usual choice because it avoids transfer to the part.
- Workplace and regulations: weigh flammability, ventilation, VOC rules and shipping costs.
- Drying time: faster-drying products shorten the wait but bring more fumes.
Ask your supplier for the technical data sheet and safety data sheet, then run a small trial before changing a whole line. A PU mould release agent that suits one process may not suit another, because formulations are matched to mould temperature, airing time and foam system.
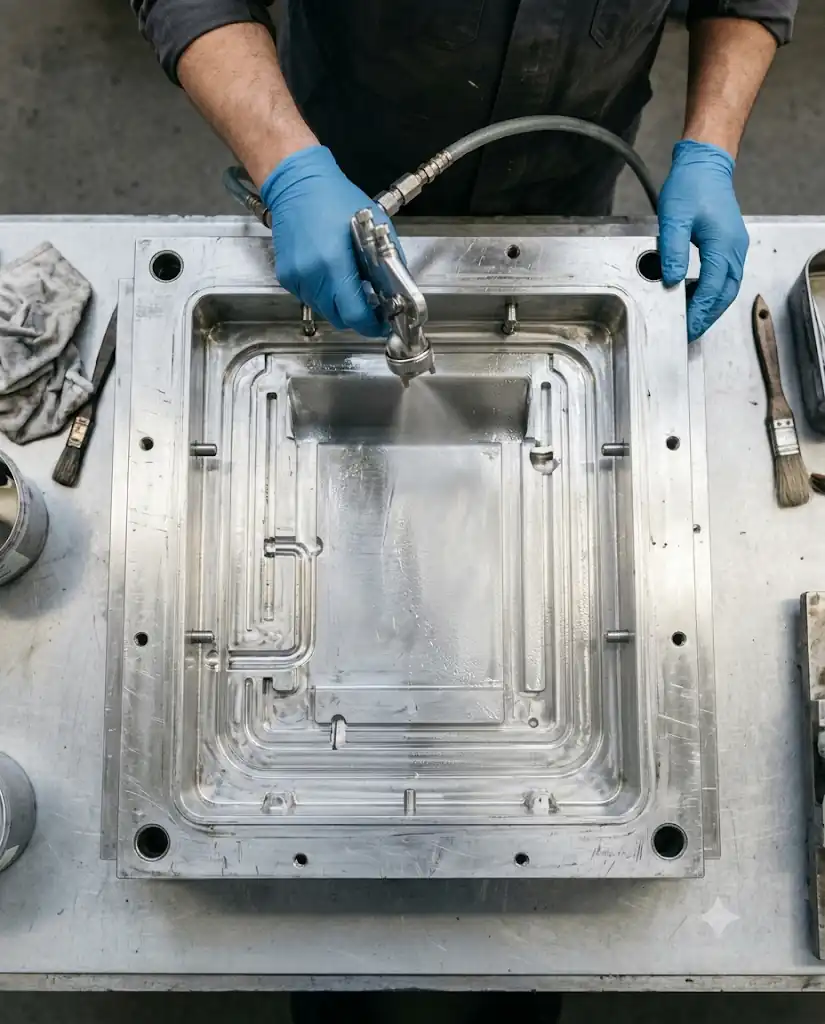
How to Apply a PU Mould Release Agent Step by Step
- Clean the mould. Remove old release residue, grime and cured polyurethane build-up with an approved mould cleaner, then inspect the surface for damage and let it dry fully.
- Prepare the surface if needed. Some tools benefit from pretreatment such as sandblasting, sanding or degreasing, which helps the release film adhere.
- Mix as directed. Shake or stir the product so the formulation is uniform.
- Apply a thin, even layer. A spray gun covers large or complex moulds best, while brushes and cloths suit small moulds and touch-ups. Hold the gun at the distance the supplier recommends to avoid pooling.
- Let the film dry. Solvent-based products dry faster and water-based ones take longer. Rushing this step is a common cause of surface defects.
- Build up carefully. New moulds often need a base coat followed by light top coats, and some processes call for light buffing before moulding.
- Keep a record. Logging how often you apply helps you avoid under- or over-application.
Common Problems and Their Likely Causes
Most problems with a PU mould release agent trace back to a handful of causes.
- Part sticks or tears: the product may not suit the process, or the film is thin, uneven or worn away.
- Voids or surface defects: the film was not fully dry, or water was left on the mould before pouring.
- Build-up on the tool: too much product has been applied.
- Odour on the foam: a petroleum-based carrier may be the cause.
- Paint or adhesive will not hold: transfer from the release agent is a likely culprit, so consider a silicone-free option.
- Inconsistent results: skipping mould cleaning lets contamination build up.
Safety, Storage and Mould Care
Whichever product you use, follow the safety data sheet. Ventilate well with solvent-based types, since their fumes can be hazardous and most solvents are flammable. Store each product as its technical data sheet advises.
Treat a polyurethane release agent as part of the process. Regular cleaning and timely re-coating stop build-up and help moulds last longer, and a standard method across operators keeps results predictable. That routine also makes any PU mold release agent easier to troubleshoot.
FAQs About PU Mould Release Agent
What is a PU mould release agent used for?
It stops polyurethane from sticking to the mould while it cures, so parts separate cleanly with less damage and less clean-up.
What is the best release agent for polyurethane foam?
No single product wins everywhere. It depends on foam type, mould temperature, mould material, finish and any painting or bonding afterwards, so test before committing.
How do you apply a PU mould release agent to a mould?
Clean and dry the tool, apply a thin even coat by spray, brush or cloth, and let it dry fully before pouring. Follow the supplier’s guidance on spray distance and recoating.
What is the difference between internal and external mould release agents?
External agents are applied to the mould surface, while internal agents are added to the material being moulded. Internal agents can reduce outside application but do not always remove the need for it.
Can you paint polyurethane after using a release agent?
Often yes, but the product matters. Silicone-free types avoid transfer that can interfere with painting, bonding or coating. Check with your supplier whether the part needs cleaning before finishing.
Bottom Line
A PU mould release agent does its job best when the product, the mould preparation and the application all work together. Choose a formulation that suits your foam system, mould and finishing needs, apply a thin even film and give it time to dry. Do that consistently and a polyurethane release agent will give you cleaner parts and fewer stoppages.