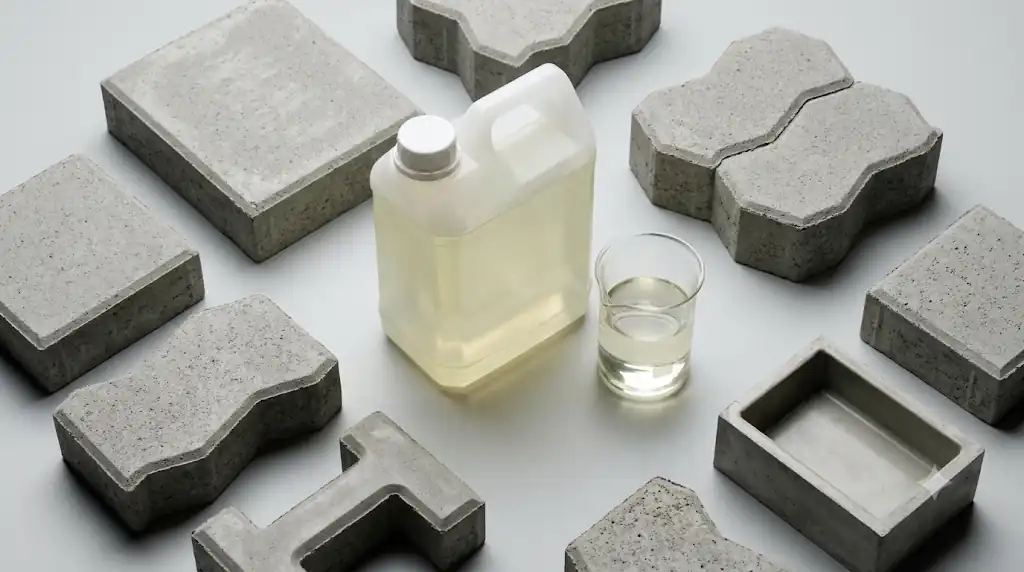
Silicone paver block release is the process of separating a freshly cast concrete paver from its flexible silicone mould cleanly, with or without a release agent, so the block keeps its sharp edges, texture and surface finish.
Get it right and blocks lift out crisp, cycle after cycle. Get it wrong and you see torn corners, pitted faces, oily patches and moulds that wear out early. The answer depends on the mould, the mix and how you apply the agent, and advice online often disagrees about whether silicone needs one at all.
This guide takes that question apart step by step. You will learn what release agents do, how the two main types differ, how to apply one in a thin, even coat, when to demould, how to fix sticking and surface defects, and how to look after your moulds. It draws on guidance from the American Concrete Institute and mould-rubber makers.
Key Takeaways
- Silicone has low adhesion, but concrete is abrasive, so many mould makers still advise a release agent to protect the mould.
- Release agents fall into two broad families: barrier types and chemically active types.
- Less is more. A thin, even coat works better than a heavy one, which can leave small round pits.
- Clean the cavity before every cycle. A release agent cannot make up for a dirty or worn mould.
- Demould at the right strength. Too early chips edges; too late can make extraction harder.
- Always check the mould maker’s data sheet before you choose a product.
What Silicone Paver Block Release Means on the Production Floor
The phrase covers two things. One is the physical act of separating a freshly made block from its cavity. The other is the release agent you apply to make that separation clean. In a working yard the two cannot be pulled apart, so this guide treats them together. Understanding both aspects of silicone paver block release helps manufacturers maintain consistent results across repeated casting cycles.
The basic process is simple. Cement mixture goes into a mould, cures, and is then demoulded. Silicone gets chosen when the design calls for fine texture or undercuts, because a soft, flexible mould can be peeled away from detailed shapes.
A release agent adds a thin layer between the mould and the cement paste. According to the American Concrete Institute, form release agents ease removal, extend the useful life of the form, and improve the smoothness and texture of the concrete surface.
Why Pavers Stick to Their Moulds
Sticking is rarely down to one cause. Usually a few small problems stack up. These are the usual suspects:
- Residue from earlier pours, such as hardened concrete or dust, left on the mould surface.
- A mix that is too wet, which clings to the cavity more readily.
- Too little release agent, or an agent that does not suit the mould or the mix.
- Sharp internal corners or too little taper on the cavity walls, which make a block harder to lift out.
- Demoulding too late, after the bond between concrete and mould has grown stronger.
One precast production guide makes a point worth remembering. A release agent helps separation, but it cannot make up for a poor mould condition, an unsuitable mix or careless handling.For consistent silicone paver block release, these factors should be checked before every production cycle.
Do Silicone Moulds Need a Release Agent?
Silicone mould release is the question people argue about most. Silicone has low adhesion, and one mould-making supplier describes it as often self-releasing. The same supplier adds that a release agent still protects the mould from leaching and extends its service life, even though concrete does not stick to silicone.
There is a second reason to take it seriously. Concrete is abrasive, and a platinum-silicone maker warns that casting it can erode mould detail quickly. A mould that loses its texture is an expensive loss.
So what should a yard do? For a short run, a trial without any agent may work. For regular production, many suppliers lean towards using one. The right approach to silicone paver block release ultimately depends on production volume, mould condition and the type of concrete mix being used. Test a few blocks on your own mix, follow the mould maker’s advice, and treat blanket claims that silicone never needs a release agent with caution.
Types of Release Agents for Paver Moulds
Choosing a release agent for paver moulds starts with the two main families. The American Concrete Institute explains the difference in its technical FAQ on form release agents. Barrier types, such as oils, waxes and silicones, sit between the form and the concrete. Chemically active types, based on certain fatty acids, react with calcium ions in the cement paste and form a soap that stops the concrete from bonding.
Because chemically active agents tend to produce fewer bugholes, stains and surface irregularities than barrier types, they are commonly used for architectural concrete. For paver production, one manufacturing document describes applying a silicone-based release emulsion to rubber moulds.
Whatever you pick for silicone paver block release, match it to the mould material, because products are not interchangeable. A concrete-chemicals supplier notes that petroleum-based solutions can dissolve a mould surface, and a mould supplier warns that strong solvent-based agents can swell or discolour polypropylene and ABS plastic.
Think about what happens after demoulding too. If paver faces will be sealed, painted or bonded later, excess agent that transfers to the surface can interfere with those steps, as release-agent suppliers point out. Check what your sealer maker tolerates.
Rules also differ by country. The American Concrete Institute notes that form release agents in the United States must meet federal limits on volatile organic compounds, and some states apply stricter ones. Release agents belong to the wider world of construction chemicals, so ask for a technical data sheet with application guidance rather than relying on the label alone.
How to Apply a Release Agent Step by Step
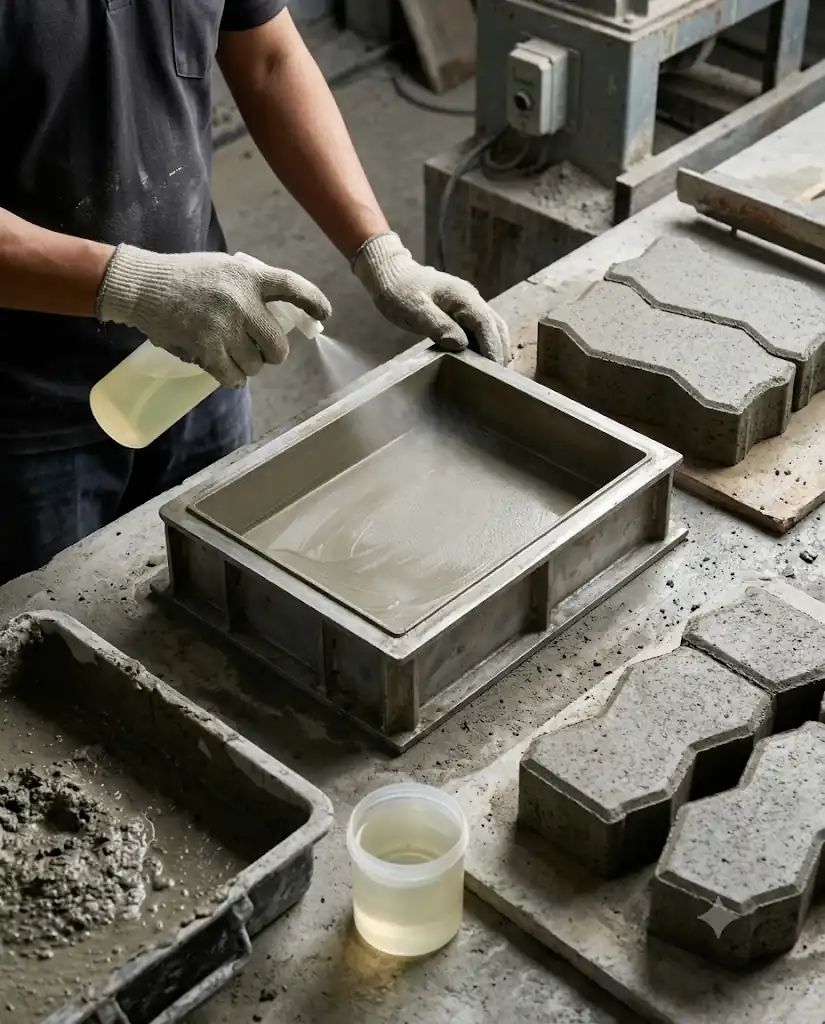
Consistency matters more than the brand name when you apply a release agent for paver moulds. Here is a routine most yards can adapt for silicone paver block release.
- Clean the cavity. Remove hardened concrete, dust and any leftover film before anything else.
- Inspect the mould. Look for tears, cuts or worn texture, and set damaged moulds aside.
- Pick a compatible agent. Read the data sheet and follow the manufacturer’s guidance.
- Apply a thin, even coat. Spray or wipe lightly, and avoid pooling in corners and deep texture.
- Let it settle. Mould temperature affects how an agent dries and forms its film, and one supplier notes that water-based products can dry slowly in cool or humid conditions, so follow the drying instructions before filling.
- Fill and compact consistently. Uneven compaction can look like a release problem.
- Check the first blocks. Look at edges, faces and texture, then adjust the amount rather than the whole method.
The thin coat matters. A mould supplier’s FAQ explains that excess agent can gather into small beads that leave round voids, often on the lower part of the casting.
Demoulding Timing and Paver Block Demoulding Technique
Paver block demoulding is where release and strength meet. Take the block out too early and the edges chip, because the concrete has not gained enough strength. Leave it too long and the bond with the mould can grow, which makes extraction harder.
There is no single magic time. It depends on your mix, temperature, compaction and curing, so run a trial with your own materials and note when blocks come out cleanly.Recording these observations helps improve silicone paver block release by identifying the demoulding window that works best for each mix.
If you use admixtures that change setting behaviour, such as a retarder admixture, the window may shift, so repeat the trial.
For technique, peel the flexible mould away from the block, starting at one edge, rather than dragging the block out. Avoid hammering or levering with metal tools. After demoulding, proper concrete paver block curing protects the strength you worked for.
Silicone Paver Block Release Problems and Quick Fixes
Most silicone paver block release problems show up in a handful of familiar ways. Use this table as a first check on silicone mould release before changing your whole process.
| What you see | Likely cause | What to check |
| Block sticks or corners tear | Dirty cavity, too little agent, late demoulding, low taper | Clean the mould, review the coat, shorten the wait, inspect cavity shape |
| Small round pits on the face | Excess agent pooling; sometimes water or trapped air | Thin the coat, then review mix water and compaction |
| Oily patches or uneven colour | Heavy or unsuitable agent | Reduce the amount or change to a product suited to decorative concrete |
| Chipped edges | Demoulded too early | Re-run the strength trial and extend the wait |
| Fading texture over time | Abrasion and mould wear | Inspect the mould and retire it if detail is lost |
| Whitish bloom | Efflorescence, which has several causes | Review the mix and curing; keep the mould in the checklist |
Remember that round pits can also come from water or trapped air, so look at vibration and mix before blaming the agent alone.
How Mix, Mould Design and Hardness Affect Release
Silicone paver block release also depends on the mix. A wet mix clings, while a mix that is too dry may not fill the cavity. Aim for the consistency your own trial runs have shown to work.
Mould design matters too. Rounded corners and sensible taper on the cavity walls help blocks lift out, and interlocking shapes with undercuts need more taper than flat walls.
Hardness is another lever. One silicone supplier suggests a Shore A range of about 20 to 40 for concrete moulds, with softer grades for fine detail and undercuts and firmer grades for large, heavy parts. Ask your mould maker which grade suits your product.
Silicone is not the only choice. A rubber-mould manufacturer notes that natural rubber is the material most used for paver moulds, valued for abrasion resistance and release properties. If you switch material, revisit your release routine.
Caring for Your Silicone Paver Mould
Good silicone paver block release starts after the last pour. Mould-rubber makers suggest washing with a soap solution, drying the mould fully, and storing it on a level surface in a cool, dry place.
- Clean soon after use, before cement hardens in the texture.
- Retire any mould that tears or loses its detail.
Quality Still Comes First
Release technique supports quality; it does not replace it. In India, IS 15658:2021 sets requirements and test methods for solid, unreinforced precast concrete paving blocks, and a clean silicone paver block release does not exempt blocks from meeting it.
FAQ
Do silicone paver moulds need a release agent?
Not always, but many suppliers still recommend one for regular production. Silicone resists sticking, yet concrete is abrasive, and a release agent can help protect the mould and extend its life. For a short run, test a few blocks. For daily production, follow the mould maker’s advice. Either way, good silicone paver block release starts with a clean mould.
What is the best release agent for silicone paver moulds?
There is no single best product. Barrier and chemically active types work differently, and the right choice depends on your mould, mix and finish. Your release agent for paver moulds must also be compatible with silicone, so read the data sheet first.
Why are my pavers sticking to the silicone mould?
Look at the basics of silicone mould release first: residue in the cavity, a mix that is too wet, too little agent, late demoulding, or too little taper on the cavity walls. Change one thing at a time so you can see what helps.
Can too much release agent damage the paver surface?
Yes. Excess agent can gather into small beads and leave round pits, and heavy or unsuitable products can leave oily marks or uneven colour. Apply a thin, even coat.
How long should pavers stay in the mould before demoulding?
There is no universal time for paver block demoulding. It depends on the mix, temperature and curing conditions. Run a trial and demould once blocks come out with intact edges and faces. Taking them out too early risks chipped edges.
The Bottom Line on Silicone Paver Block Release
Good silicone paver block release is mostly discipline: a clean mould, a compatible agent applied thinly, a mix that behaves, and demoulding at the right moment. None of it is complicated, but skipping a step shows up on the block face.
Start by testing on a small batch. Note what you used and what you saw. Within a few runs you will know whether your silicone paver mould needs an agent, how much to use, and when to demould. Keep the routine steady, and the results will follow.