A bath silicone sealant is a thin line of rubbery material doing a very heavy job. It fills the gap where your tub meets the wall, and every single shower tests whether it can keep water out of the structure behind it.
Pick the wrong bathroom silicone sealant, or apply a good one badly, and you will usually see black spots, peeling edges and damp patches within a year or two. This guide explains how the main types differ, how to choose a bath silicone sealant for your tub, how to fit it properly and how to make it last.
Key Takeaways
- Neutral-cure silicone is the safest option for most baths.
- Standard silicone does not stop mould on its own.
- Sanitary silicone adds the mould protection a wet area needs.
- Strip the old sealant completely before resealing.
- Fill the tub with water while the new bead cures.
- Plan on renewing the joint roughly every five years.
Why a Bath Silicone Sealant Beats Grout
A bath is never perfectly still. It flexes a little when it fills with water and again when you climb in. Tiles and grout are rigid, so a gap filled with either one tends to crack along the edge within months.
Silicone stays elastic after it cures. It stretches and compresses with the tub while still blocking water, which is why it is the standard fix for this joint. Acrylic and latex-silicone blends are cheaper, but they shrink and split faster in constant damp.
Acetoxy vs Neutral Cure: The Choice That Matters Most
Nearly every cartridge you will find is one of two cure types, and the difference decides what it can safely stick to.
An acetoxy (acid-cure) silicone bath sealant gives off a sharp vinegar smell as it dries. It cures quickly, grips glass, glazed ceramic and enamel very well, and usually costs less. The catch is that the acid can corrode some metals and may damage plastics or natural stone. It is also not suited to alkaline surfaces such as concrete, cement or plaster.
Neutral-cure silicone has little or no smell and does not attack the surface beneath it. It bonds to a wider range of materials, including acrylic, fibreglass, aluminium, marble and quartz. It costs a little more, but a neutral-cure bath silicone sealant is far less fussy about what it is stuck to.
What Sanitary and Mould-Resistant Labels Really Mean
Plain silicone is not mould-resistant. The protection comes from fungicide additives blended into the formula. Products sold as sanitary silicone carry those additives, which is why they are the right pick for any wet area.
Two honest caveats apply. No sealant stays mould-proof forever, because the additives slowly wear out. And harsh chlorinated cleaners can strip that protection early. Gentle cleaning and good airflow will do more for your joint than any claim on the packaging.
How to Choose the Right Bath Silicone Sealant
Start with what your bath and surround are made of. Then read the cartridge for three phrases: sanitary silicone, mould-resistant and neutral cure.
- Acrylic or fibreglass tub: choose neutral cure, since acid can harm the surface.
- Enamelled steel or cast iron tub with ceramic tiles: either type works, though neutral cure is still the easier choice.
- Natural stone or quartz surround: use neutral cure only, to avoid staining.
- Glass screen meeting the tub: pick a neutral-cure product that lists glass and metal.
Avoid the cheapest tube on the shelf. A low-grade bathroom silicone sealant tends to lose its elasticity early, so you end up paying twice. Also settle on a colour before you start, because silicone cannot be painted over once it has cured.
Silicone or Hybrid Sealant: Which Should You Pick?
Silicone is not the only option. Hybrid sealants, often sold as MS polymer, can be painted over, which a bath silicone sealant cannot. That makes them handy if you want the joint to match a painted wall.
The trade-off is that not every hybrid is made for permanently wet areas. If you go this way, look for one labelled for bathrooms or sanitary use. For the joint right against the tub, most people still choose silicone.
Check the Gap Width and How Much to Buy
A bath silicone sealant suits narrow joints. If the gap is wider than the maximum joint width printed on the cartridge, fill it first with a backer rod or a bath sealing strip rather than piling on extra silicone.
Measure the length of the joint before you shop. As a rough guide, one manufacturer lists a 280 ml cartridge at about 7 metres for a 6 mm by 6 mm joint, but only around 3.6 metres for a 12 mm by 6 mm joint. Check the coverage on your cartridge and buy a spare.
How to Apply Bath Silicone Sealant Step by Step
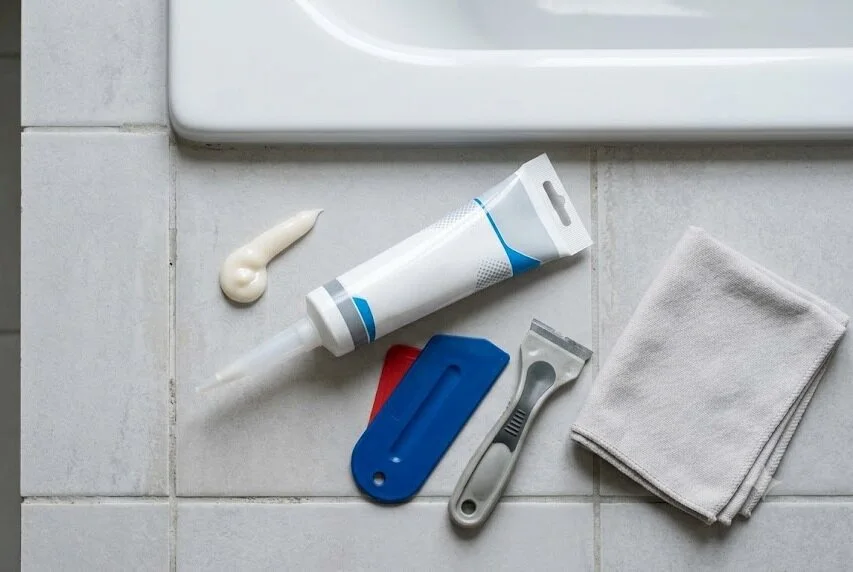
Preparation matters more than the product. Most early failures trace back to a dirty or damp joint rather than a bad tube. You will need a caulking gun, painter’s tape, a removal tool, a smoothing tool and a clean cloth.
- Fill the bath first. The weight of the water pulls the tub down to its lowest point, so the joint is sealed at its widest. Keep it full until the sealant has cured. This trick is for baths only, because a shower tray or sink sits on a solid base and does not need filling.
- Remove every trace of old sealant. Cut it out with a sharp knife or a silicone removal tool, then wipe away the leftover residue with a silicone remover. Cured silicone cannot be dissolved, so it has to be cut or scraped out.
- Clean the joint. Use a degreaser or isopropyl alcohol to lift soap film, then let the surface dry completely.
- Mask both sides. Run painter’s tape along each edge of the joint, leaving a narrow gap for the bead.
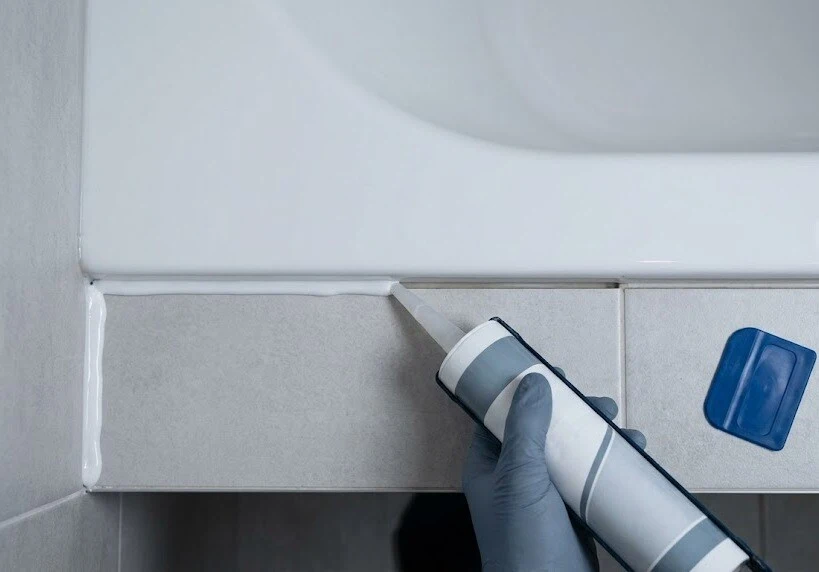
- Apply one steady bead. Cut the nozzle at 45 degrees with an opening slightly smaller than the gap, and keep a continuous, even pace.
- Smooth it straight away. Use a finger dipped in soapy water or a profiling tool within about 10 minutes, then peel off the tape before a skin forms.
- Let it cure. Silicone is usually touch-dry in 15 to 20 minutes. A quick-drying product needs around 5 to 6 hours to cure fully and a standard one about 24 hours, so ideally leave the water in the tub for the full 24. Keep the room ventilated.
Why You Should Not Seal Over Old Silicone
It feels like a shortcut, but fresh silicone bath sealant does not bond well to aged silicone. The old layer is coated with soap residue, hard water minerals, body oils and mould spores.
A new bead on top may look neat and still peel within weeks. A few brands sell renewal sealants made to go over a cleaned, sound joint, but that is a quick repair, not a full reseal. With standard silicone, spend the extra ten minutes removing the old joint properly.
Keeping the Joint Clean and Knowing When to Replace It
Wipe the joint with mild soapy water every week or two. Run the extractor fan or open a window for 20 to 30 minutes after showers. Hard water deposits also weaken the bond over time, so wipe them off before they build up.
If mould appears, use mild soapy water or a non-chlorine bathroom mould remover, scrub gently, then rinse and dry the joint well. If dark stains stay after cleaning, the mould has gone into the bead and it is time to replace it.
Even a well-fitted joint has a limit. Expect to renew a bath silicone sealant about every five years, or sooner if you notice any of these signs:
- Black spots that return after cleaning
- Edges lifting away from the tub or tiles
- Cracks, gaps or a hard, brittle feel
- Damp marks on the wall or ceiling below
Where Silicone Cannot Help
A bath silicone sealant only closes joints you can see. It cannot repair a failed waterproofing layer, a leaking pipe, a loose tub or cracks inside a wall. If damp keeps returning after a fresh seal, look for the source instead of adding more silicone.
One more rule: never use silicone on the threads of pressurised pipes. It is a gap filler, so it gets squeezed out when the joint is tightened. PTFE tape or pipe jointing compound is the right tool there.
Faqs
What is the best silicone sealant for a bathtub?
For most homes, the best bath silicone sealant is a neutral-cure, mould-resistant product from a reputable brand. Acid-cure types can work on glass and glazed ceramic, but neutral cure suits more materials and is gentler on metals and plastics.
How long does silicone take to dry before I can shower?
Silicone is usually touch-dry within 15 to 20 minutes, but a full cure takes around 5 to 6 hours for quick-drying products and about 24 hours for standard ones. Thick beads can take longer, so check the cartridge and ideally leave the water in the tub for the full 24 hours.
Can you put new silicone over old silicone?
It is not recommended with standard silicone. New bath silicone sealant bonds poorly to old, contaminated silicone and tends to peel quickly. Remove the old bead fully, clean the joint and let it dry before resealing. Only use a product that is made for going over existing sealant, and follow its instructions.
Why does bathroom silicone sealant turn black?
The black spots are mould feeding on soap residue and moisture, especially where ventilation is poor. Standard silicone has no mould protection, and even sanitary silicone loses its additives over time. Surface mould can sometimes be cleaned off, but once it has gone deep into the bead, replacing the sealant is the only lasting fix.
How do you remove old bath silicone sealant?
Cut along both edges of the old bead with a sharp knife or removal tool, then peel and scrape the strip out. Wipe off leftover residue with silicone remover, clean the joint with isopropyl alcohol or a degreaser, and let it dry fully before resealing.
Bottom Line
The right bath silicone sealant is neutral cure and mould-resistant, but the result depends just as much on how you prepare the joint. Remove the old sealant, clean and dry the gap, seal with the tub full and give it time to cure. Do that, and a good silicone bath sealant will protect your walls and keep the joint looking fresh for years.